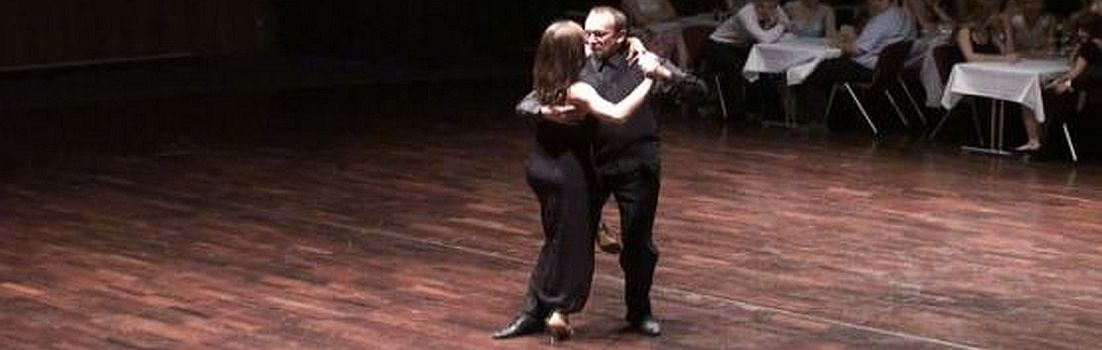
VJing for Milongas
Last year, I have blogged about how handy a video projector can be for a DJ. During my last visit in Germany, I have seen some other DJs using video, so I have decided to follow that lane a bit further. Additionally, more videos are available on the internet from many sources and also more DJ programs can actually be found for VJing. As we had a big festival last week with 4 Milongas (one of them a Nuevo Milonga), I would like to present here my equipment and setup for improved video integration.
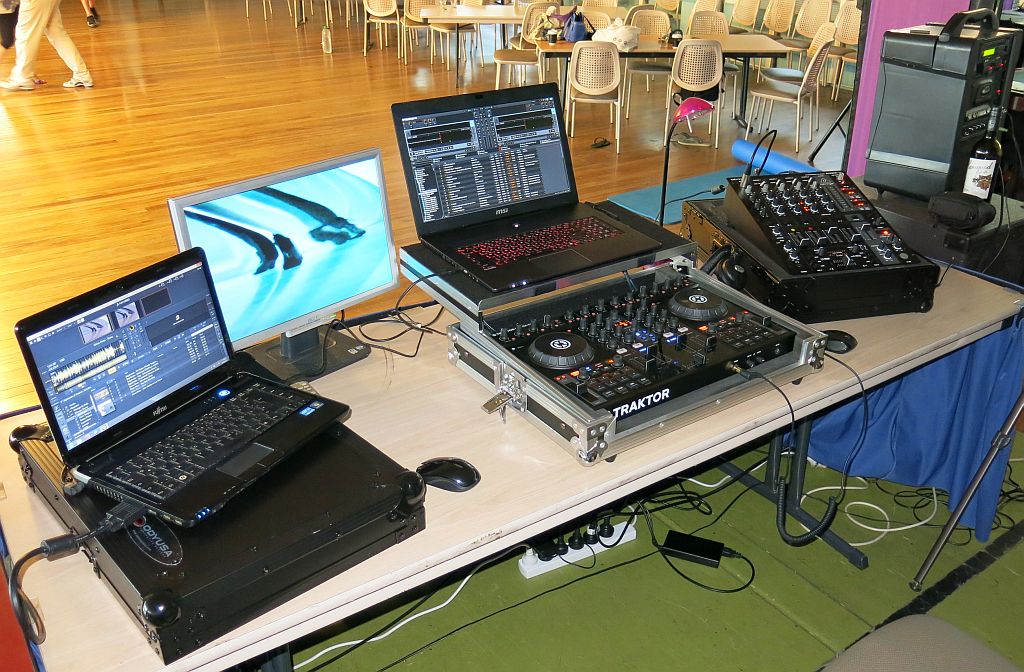
1 Equipment and Setup for Music
For the general DJing, I use one notebook computer. As my primary computer broke down in late 2013, I had to buy a new one, so I decided to go for one with a bigger screen. I am now using a 17 inch Notebook (from MSI) as my primary device, connected to a DJ-Controller (Traktor S4). This first computer includes my Music collection and runs Traktor Pro 2.6.8 which is actually the database behind my collection. Generally I do not support “Controllerism”, but handling the software with a controller is generally faster than just clicking with a mouse. For traditional milongas, I generally do not beatmatch or create smooth transitions and I admit, that I run the software in autocruise mode most of the time if there is no need to interfere and do the real DJ job. For this all pieces of the intended playlist are edited with 4s silence at the end and around 2s silence at the beginning.
For Nuevo Milongas, matching and transitioning are more appropriate and may be helpful to create a club atmosphere. BTW, I do not play cortinas at Nuevo Milongas. So here, a controller helps to do the real DJ job of beatmatching and sometimes even keymatching. Specially the very modern loungy tracks like “Pide Piso” can be extended and spiced up with samples.
The music output of the controller is then routed into a mixer which drives two sets of active speakers.
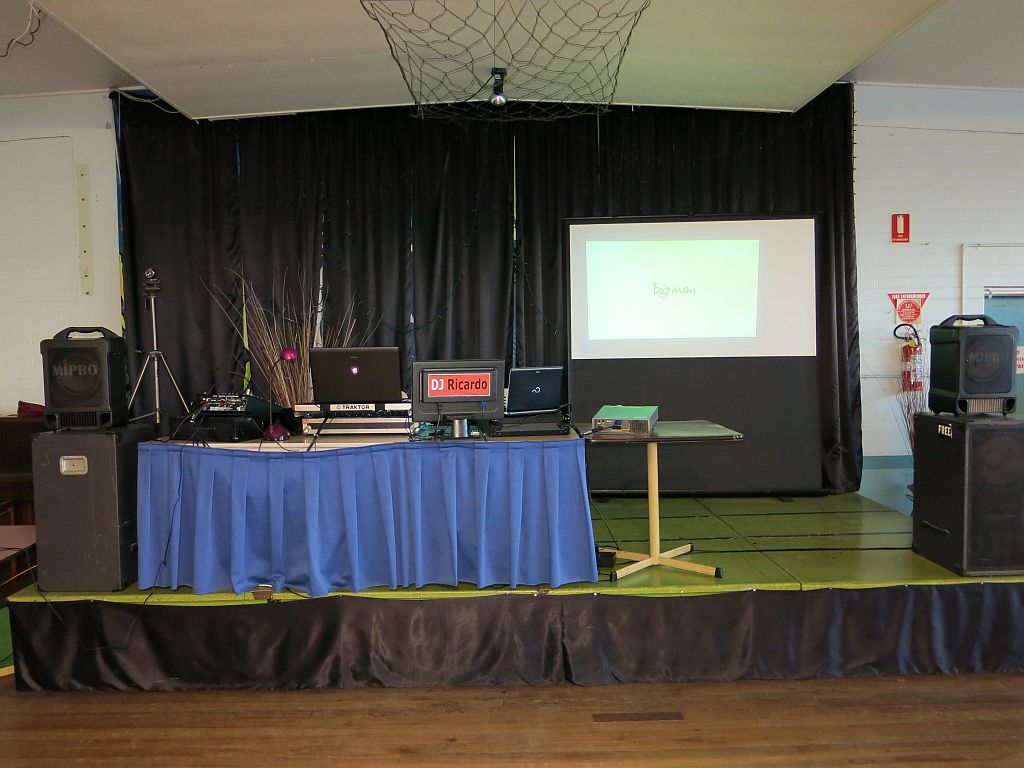
Picture 1 shows the setup of the music side. (Main PC, Controller and Mixer)

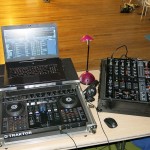
2 Equipment and Setup for Video
For the video side, I use a second notebook PC running the Video Software (I am currently running Cross). This Computer is connected to the Projector and a control monitor, which helps me not to break my neck, so I do not need to turn around frequently to see whats on the screen in my back. In order to split the video signal, I use a cheap 1 to 4 VGA signal splitter.
The audio signal from this PC goes directly to another channel of the main mixer. With this setup, I can blend videos between two players (in the computer) and also mix the audio signal with the one of the main music PC.
Just to mention, the notebook runs in a 2 screen mode, so the control software stays on the primary screen and the second canal drives the projector. I also can switch between the original video of the track and another video or still picture. This means, I have the necessary control over the output to just present the intended images/videos.
Modern VJ software can not only play and blend videos, but also create playlists and run these playlists in autocruise mode.
Picture 2 shows the setup for the video side. Notebook, control monitor and projector.
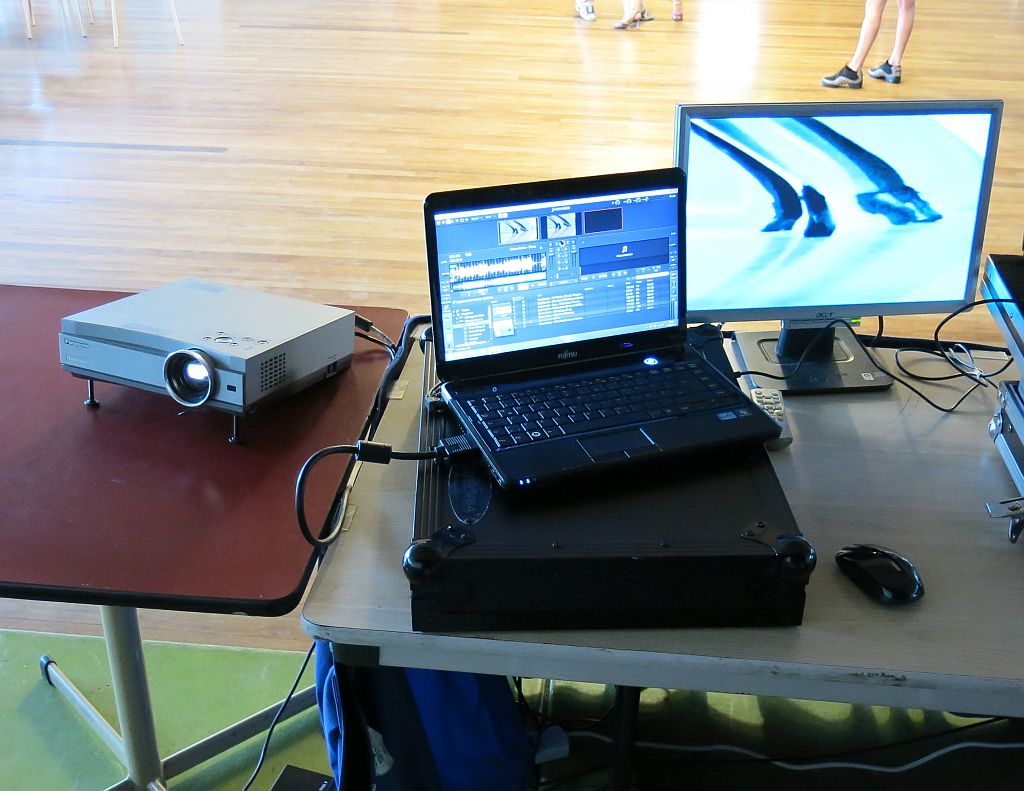
3 Mixing it all together
Audio signals of both PCs are mixed together with a mixing console (Beringer DJX900 USB). The output of the video equipment is transfered as a digital USB stream. Additionally to that a microfone and an Ipod connector are attached to channels of this 5 channel mixer. So why the mixer? Actually the mixer allows to setup the audio levels and the pan for two sets of active speakers. For this, I start to adjust the centre speakers to maximum level. Then I adjust the additional speakers to maximum level and finally I balance out both sets of speakers together. This may take some time. In the end, I have the maximum Volume at around 80% of my main drawer and the working volume for both audio sources at 100% of their respective drawers. The sound quality is then set up for each canal seperately using the equalizer controls. Now all these parameters are set to forget. With this setup, I can use my chanel sliders just between 0 and 100% and I only use the main slider to adjust the maximum volume.
The mixer is placed at the right hand side, so I can easily mix with the right hand and start new tracks with the left hand. Both main channels are set to the crossfader, which makes the things even easier.
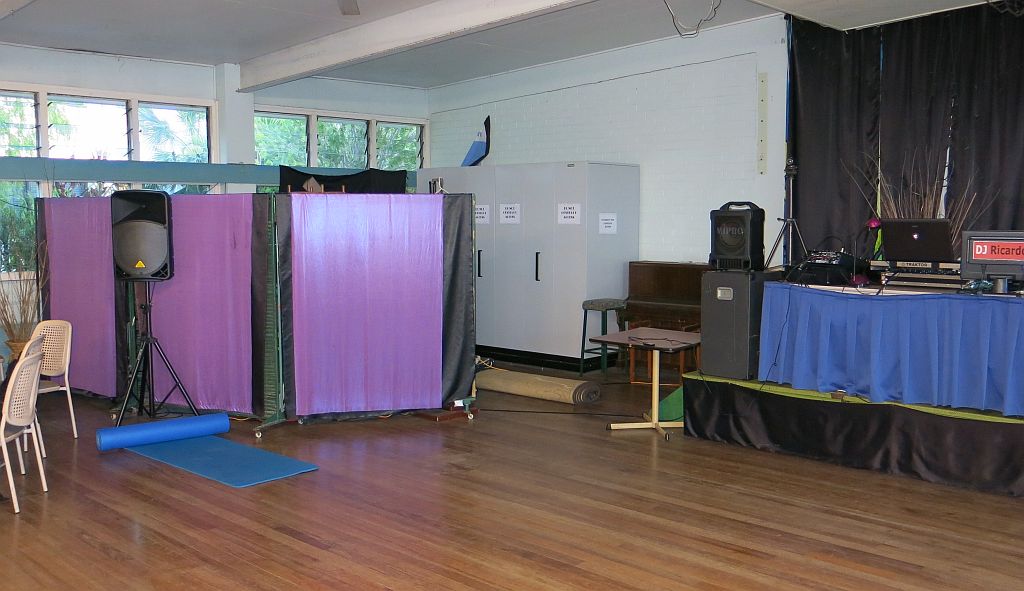
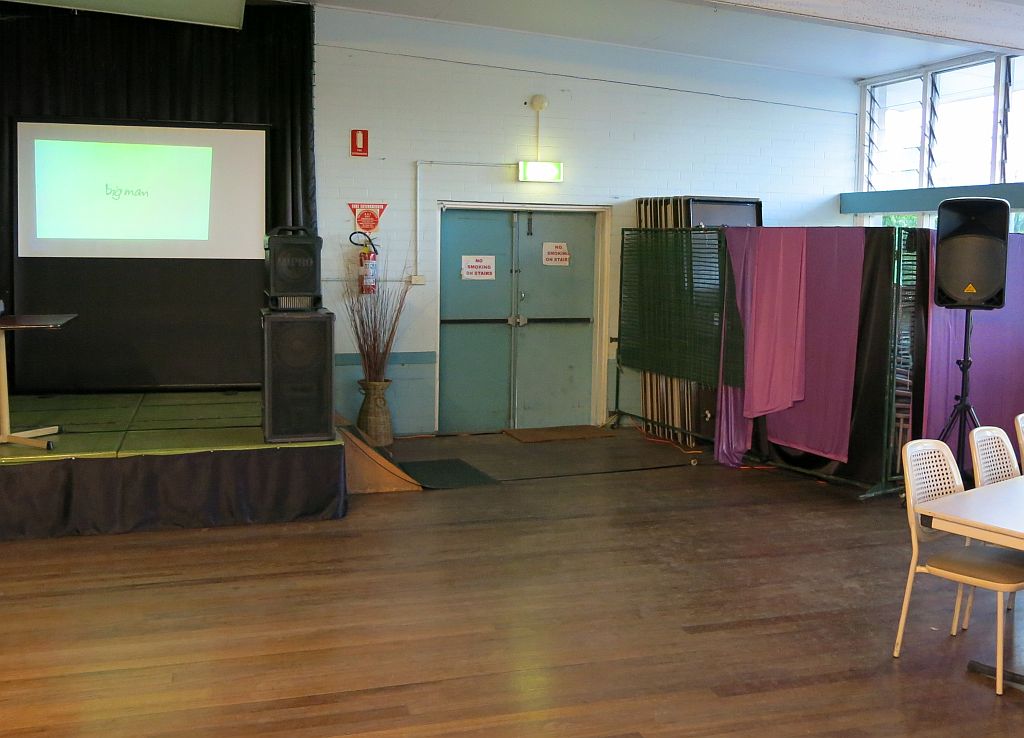
Picture 3 shows the whole setup.
Picture 4 shows the DJ table from the dancefloor.

Picture 5 shows the placement of the small centre speakers (active speakers approx. 300 Watts).
Picture 6&7 show the placement of the outer speakers (active speakers 1000Watts) left and right, directed to the end of the dancefloor.
Finally I just want to mention that the whole setup of this equipment lasts more than 1h, especially the securing of the cables with cable ties and gaffa tape takes time. The video notebook also hosts a copy of the audio collection, so it can be used as a backup just in case. With just one notebook I can run the milonga, even without the videos.
So have fun and be creative !
Your Tango-DJ,
-Ricardo